Photos from The Who's Tommy

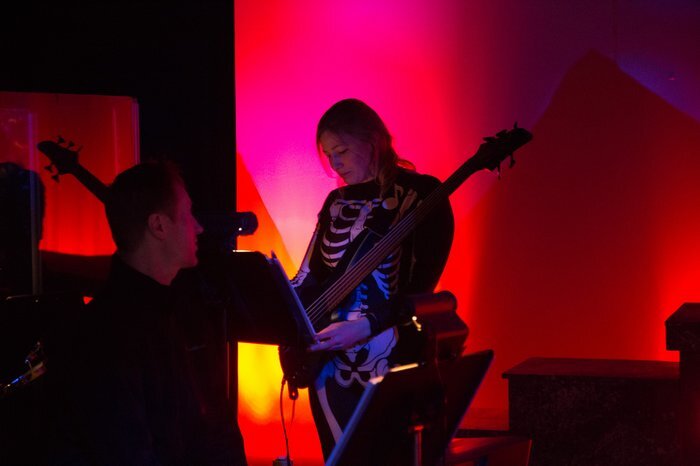
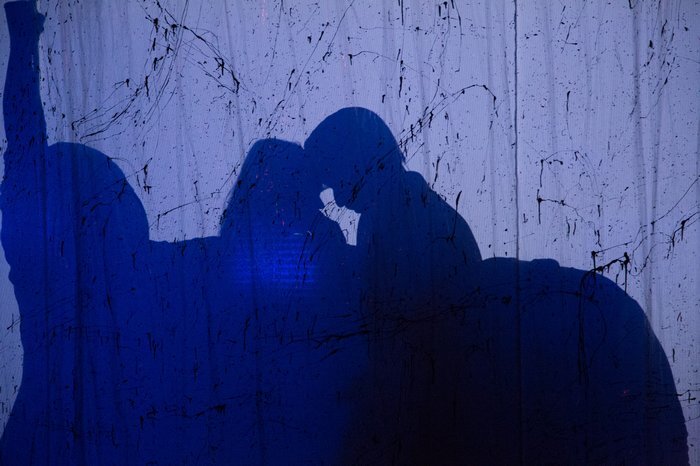
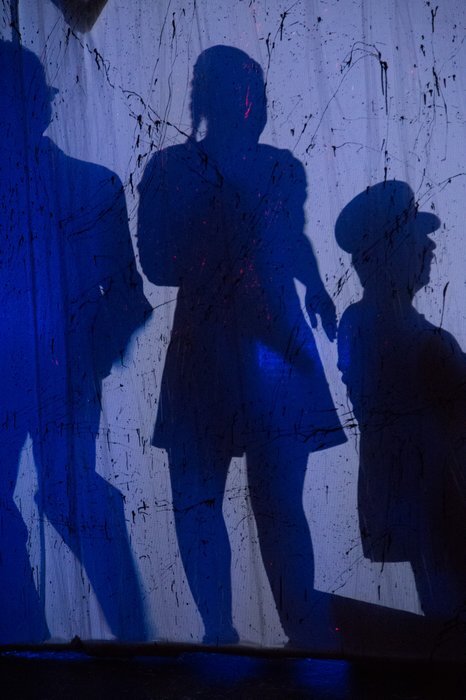
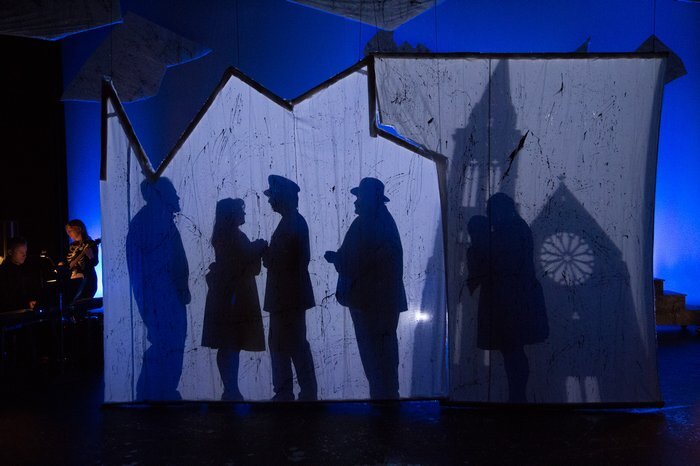
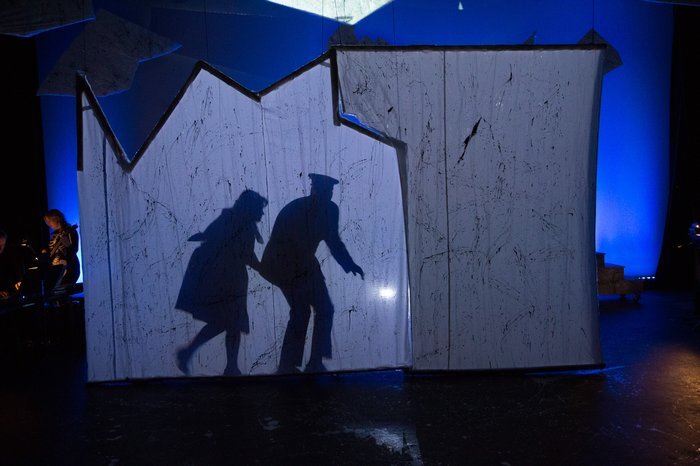
The Who's Tommy
Photo by Andre Goulet
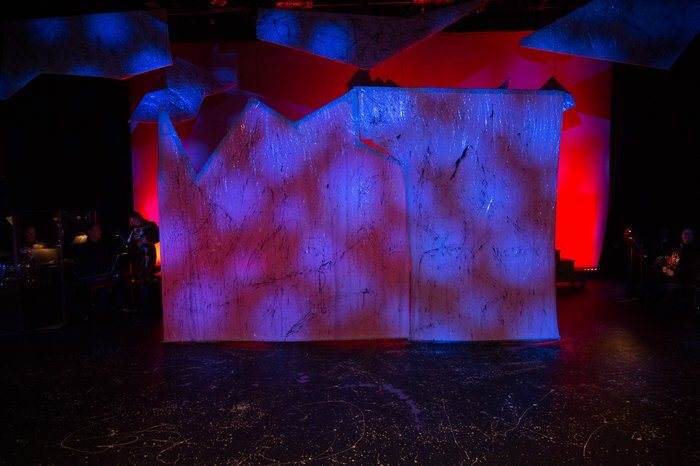
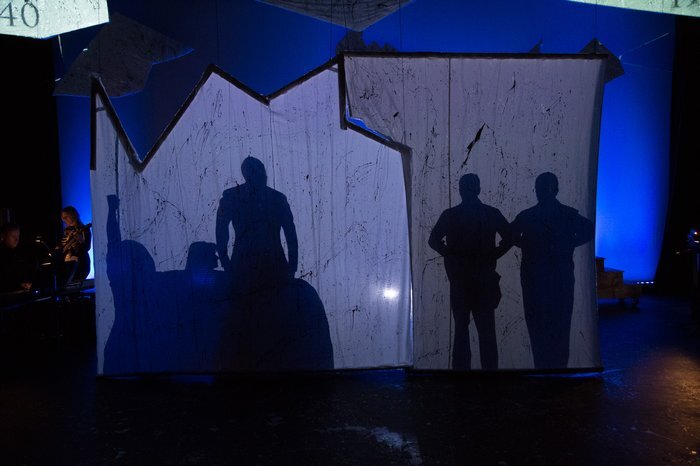
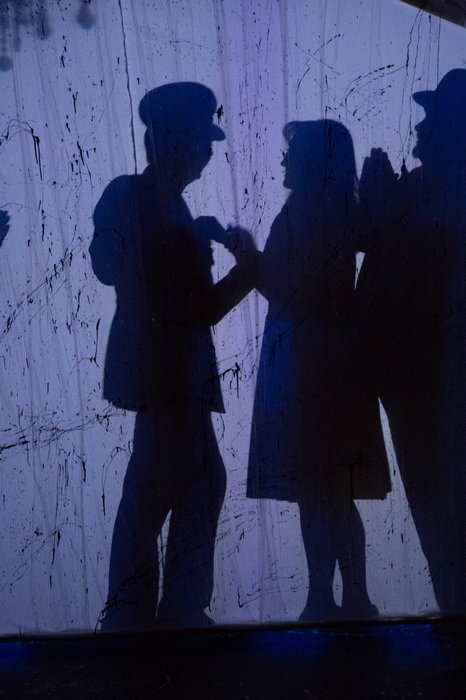
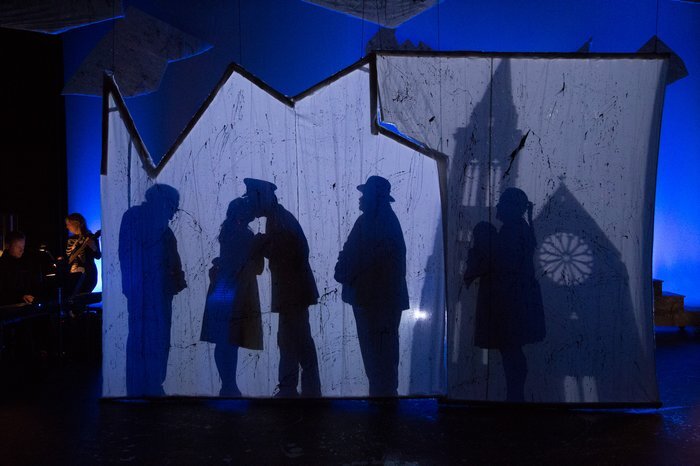
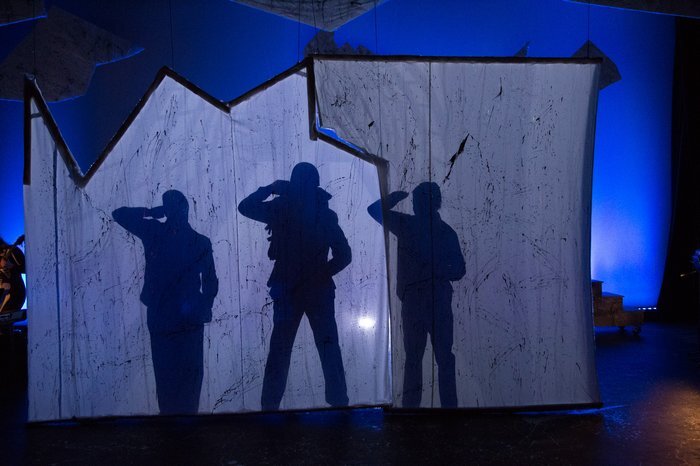
The Who's Tommy
Photo by Andre Goulet
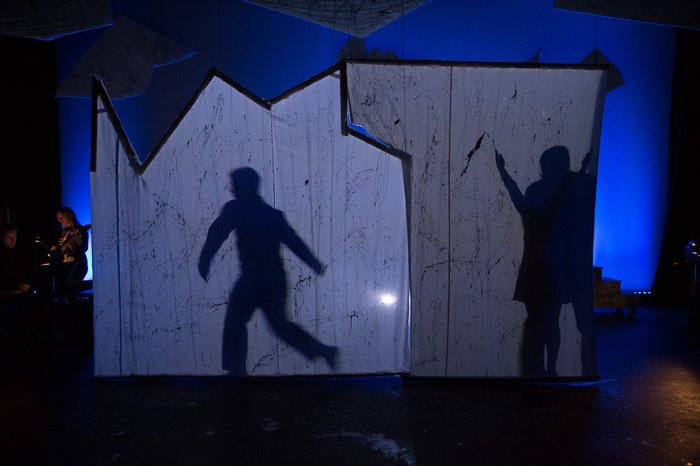
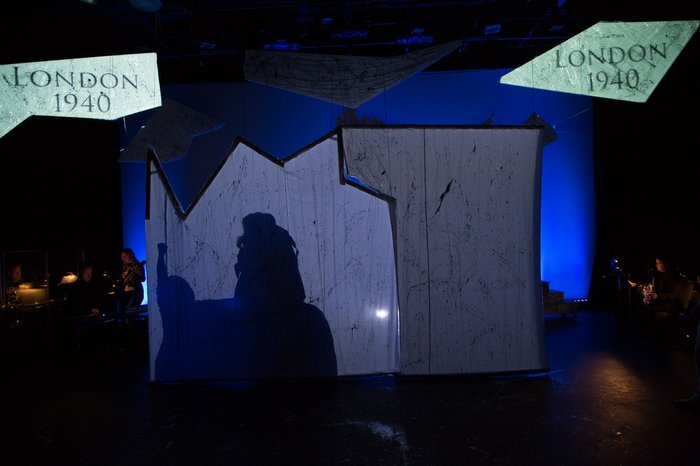
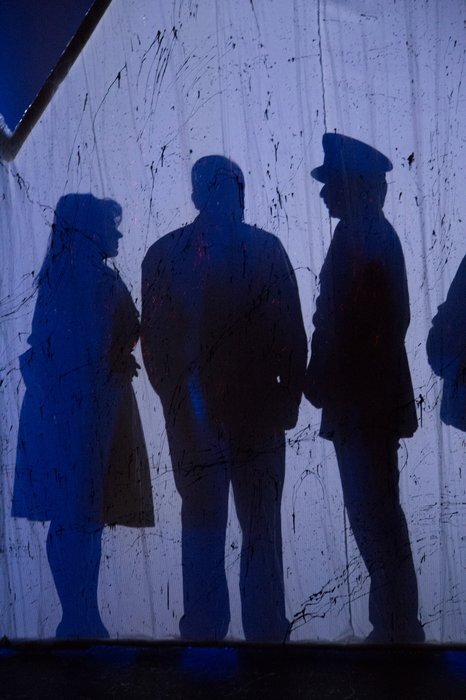
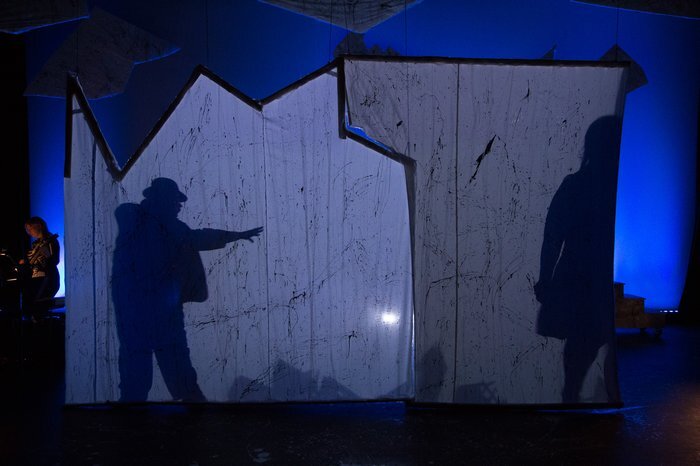
The Who's Tommy
Photo by Andre Goulet

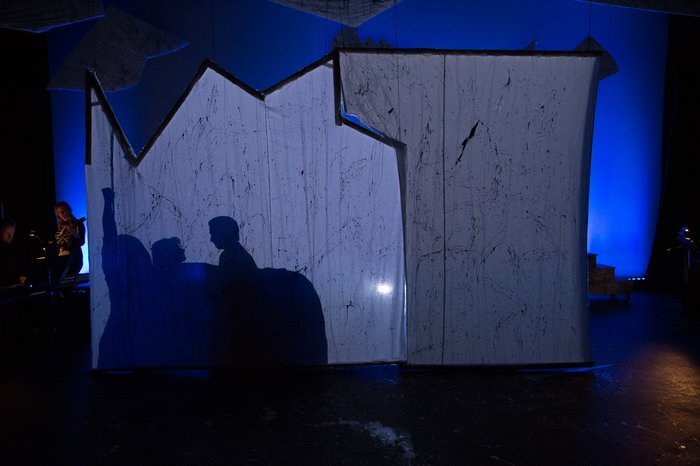
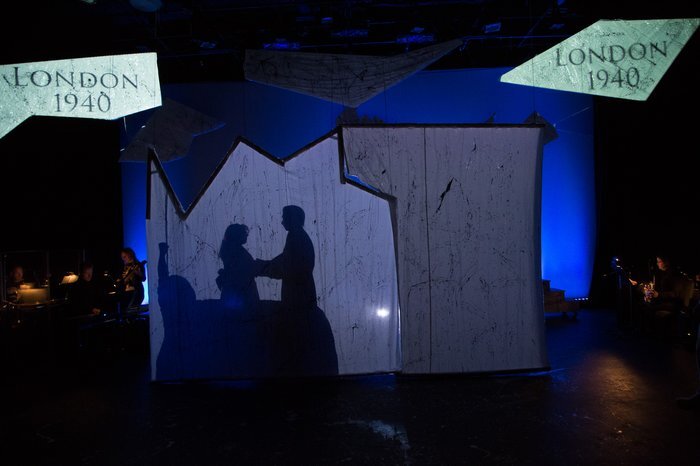
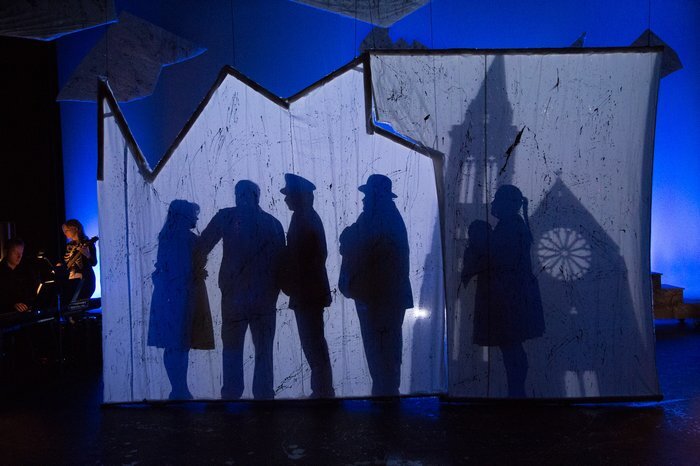
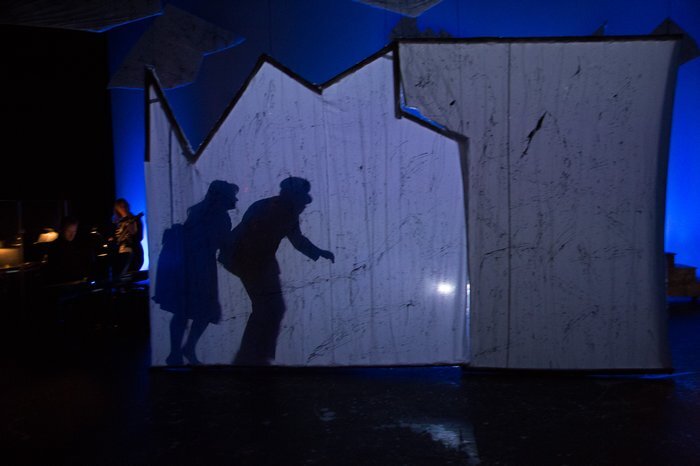
The Who's Tommy
Photo by Andre Goulet

The Who's Tommy
Photo by Andre Goulet

The Who's Tommy
Photo by Andre Goulet

The Who's Tommy
Photo by Andre Goulet
The Who's Tommy
Photo by Andre Goulet
The Who's Tommy
Photo by Andre Goulet
The Who's Tommy
Photo by Andre Goulet
The Who's Tommy
Photo by Andre Goulet

The Who's Tommy
Photo by Andre Goulet

The Who's Tommy
Photo by Andre Goulet

The Who's Tommy
Photo by Andre Goulet
The Who's Tommy
Photo by Andre Goulet
The Who's Tommy
Photo by Andre Goulet

The Who's Tommy
Photo by Andre Goulet

The Who's Tommy
Photo by Andre Goulet
The Who's Tommy
Photo by Andre Goulet
The Who's Tommy
Photo by Andre Goulet
The Who's Tommy
Photo by Andre Goulet

The Who's Tommy
Photo by Andre Goulet
The Who's Tommy
Photo by Andre Goulet
The Who's Tommy
Photo by Andre Goulet

The Who's Tommy
Photo by Andre Goulet
The Who's Tommy
Photo by Andre Goulet
The Who's Tommy
Photo by Andre Goulet
The Who's Tommy
Photo by Andre Goulet
The Who's Tommy
Photo by Andre Goulet

The Who's Tommy
Photo by Andre Goulet

The Who's Tommy
Photo by Andre Goulet

The Who's Tommy
Photo by Andre Goulet

The Who's Tommy
Photo by Andre Goulet

The Who's Tommy
Photo by Andre Goulet

The Who's Tommy
Photo by Andre Goulet
The Who's Tommy
Photo by Andre Goulet

